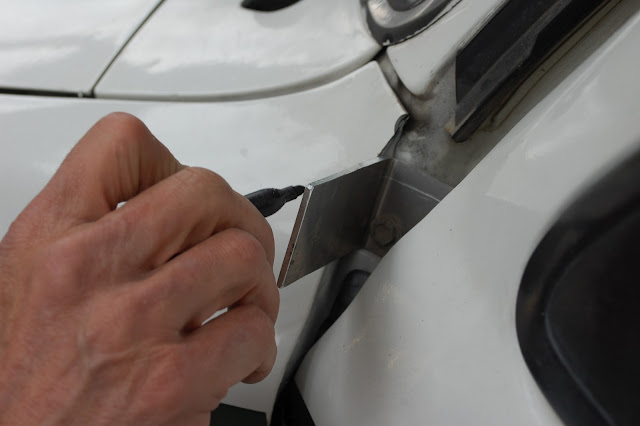
It's inevitable. If you own a Toyota motorhome, the over-cab bed area will begin sagging over time on the edges. Eventually, the bed's plywood will sag to a point where you will not be able to open your doors (ie: your doors will make contact with the plywood bed). This problem is prevalent in Toyota motorhomes because the truck body is narrow and the camper is much wider, making for a much wider over-cab bed overhang than other motorhomes.
There are 2 ways to fix this issue:
1) Replace the plywood in the bed area, which is extremely time consuming and very difficult to do without tearing something apart.
2) Built custom over-cab bed support rods!!!!!! YES!
Here's how to perform the latter option.
Step 1: Buy some 1 inch DOM aluminum tubing, 1/4 inch aluminum plating, and 1/4 inch aluminum angle.
Step 2: Support your over-cab bed area to the desired height (make sure your doors can open... generally you want about 1/2 an inch of clearance from the door to the over-cab bed area)
Step 3: Cut a 2" x 1.5" piece the aluminum angle. Open your door and set the piece of angle over the top FENDER bolt. Mark where to drill the hole in the aluminum angle, then drill the hole! Install the aluminum angle with the stock fender bolt.
Step 4: Cut your aluminum plating into a size that you feel is sufficient to support your over-cab bed area (I cut my pieces into 4"x8" rectangles). Drill 6 holes (evenly spaced throughout the aluminum plating) in the aluminum plating.
Step 5: Hold your aluminum plating up to your over-cab bed area in the position you want the aluminum plating mounted. Measure the distance from the aluminum angle to the aluminum plating, and cut the aluminum DOM tubing to this measurement. Smash the angle iron side of the DOM tubing flat, so the DOM tubing can be welded to the aluminum angle.
Step 6: Hold the DOM tubing into place, and scribe the DOM tubing with a marker, measuring how much of the DOM tubing must be cut until you get it to sit flush onto the aluminum plating. Cut the DOM tubing appropriately on the scribes until the DOM tubing sits flush on the aluminum plating.
Step 7: Once the DOM tubing sits flush, hold the tubing in place and "spot" weld the DOM tubing into place on the aluminum plating and aluminum angle.
Step 8: Remove the aluminum angle and plating, weld the DOM tubing strongly to each, and reinstall the one piece back into place. Use 1.5" wood screws to secure the aluminum plating to the over-cab bed area. YOU'RE DONE! Now you can open your doors again! This will also add a TON of support to your Toy home and keep the over-cab bed area from bouncing. Enjoy!


 Pretty soon I will have
an add-on oven that will sit on top of the Kimberly, which will allow me to
bake pizza, casseroles, pies, and all kinds of goodness. I also will have
a thermo-electric generator soon, which will sit on top of the oven and produce
electricty from the fire's heat, this way I'll be able to charge my laptop/cell
phone, power my lights, a fan, a vacuum, or charge the RV battery. The
owner is also creating a hot water coil system, where I can hook my sink &
shower's plumbing directly to the little wood stove, start a fire, and take hot
showers... pretty cool!


